

Today I share with you my own pattern for my easy to knit Gardener’s Neck Warmer.
Knitted neck warmers are popular and easy to wear under jackets and coats. This neck warmer is perfect for gardening in cold weather, worn under your work shirt or jacket.

All you need to know is how to knit basic plain and purl stitches and this pattern is simple enough for even a child to make.

The gardener’s neck warmer is easy and quick to knit and the stitch is a decorative rib that is very warming.

Pick your favourite yarn in a colour that you like and make one for yourself or for a friend.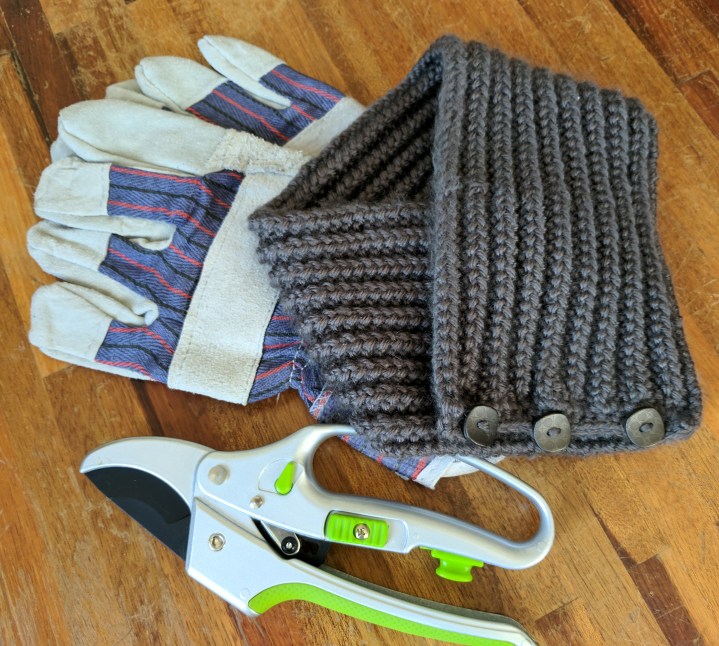
Grantham Gardener’s Neck Warmer Pattern

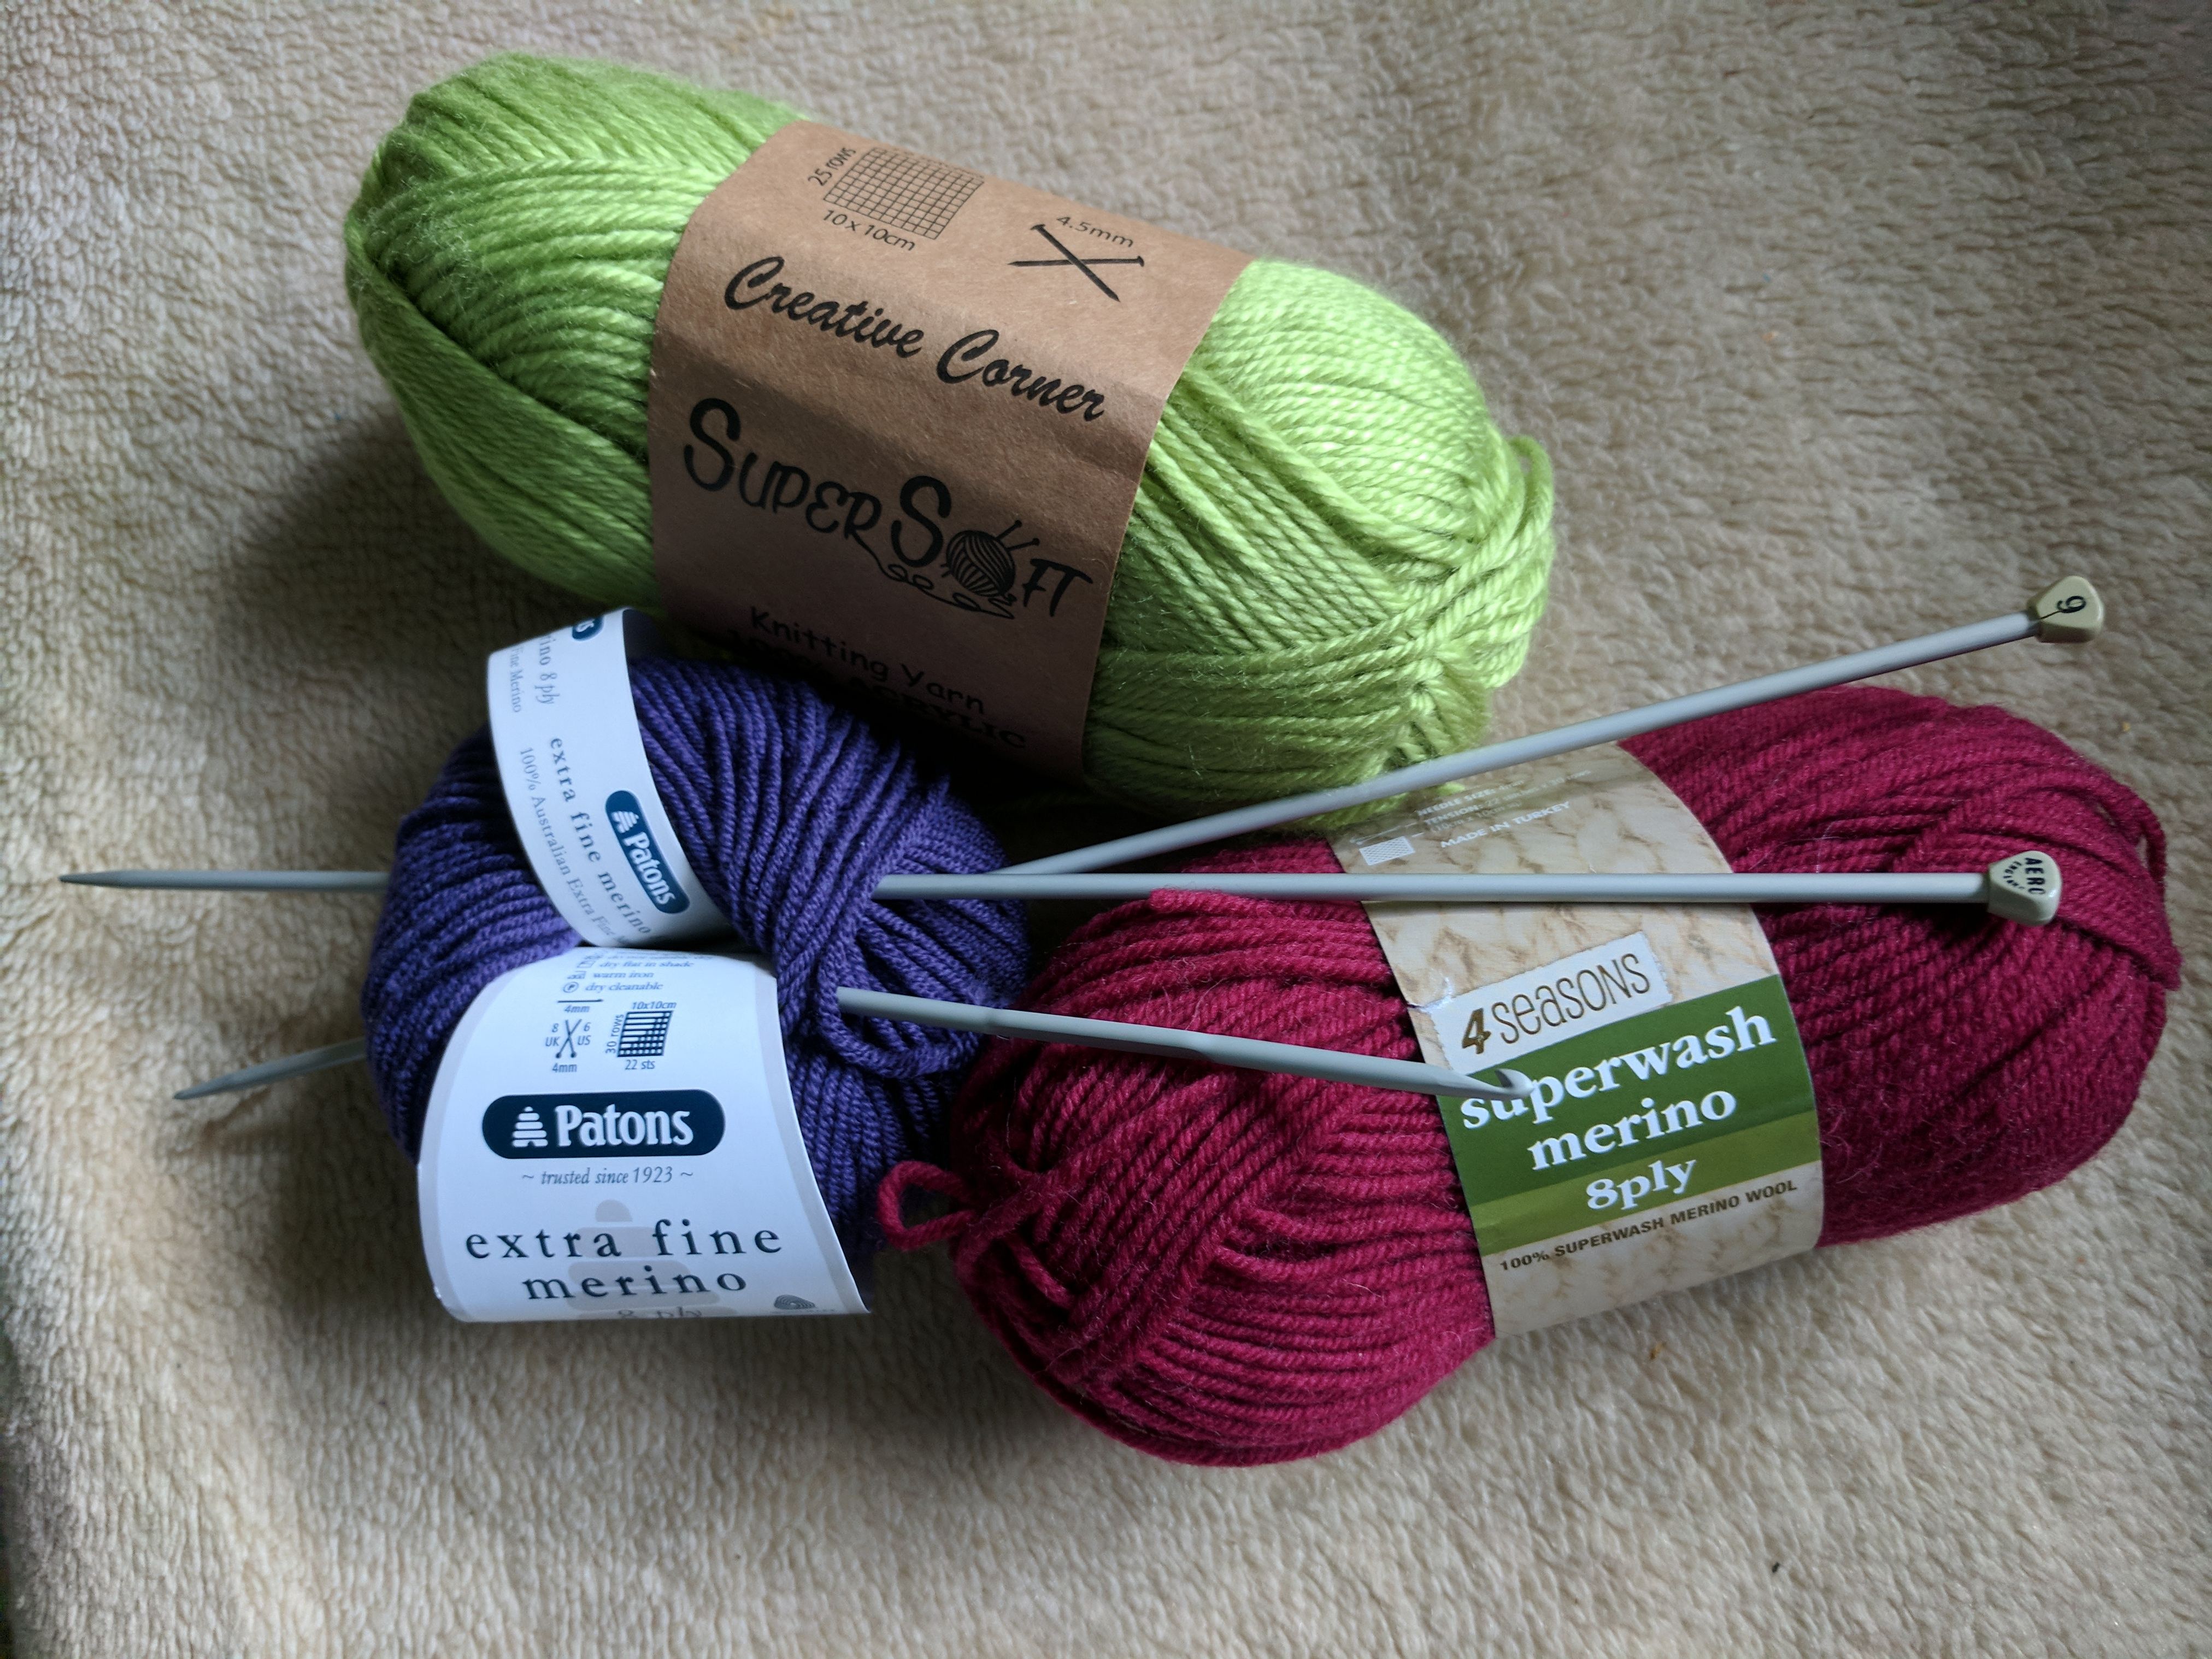
You Will Need:
- 1x 100g ball of yarn (wool or acrylic blends)
- Size 4.00 (9 UK) knitting needles
- 3 buttons or snap fasteners
- 3.50mm crochet hook
- Yarn needle for sewing in ends of yarn
Gardener’s Neck Warmer Pattern:
Cast on 37 stitches
Row 1: *knit 2, purl 2 to last stitch knit 1*
Row 2: Turn, repeat row 1 between **
Repeat, knitting these two rows until the neck warmer measures 59cm
Cast off all stitches until the last stitch , then transfer this loop to a crochet hook.
(Note: be careful to always knit 2 stitches each of purl or plain. You should always be ending your row with a single knit stitch. If you don’t, this will mean you have not knitted two stitches of each. With care the knitting should be easy enough.)
Making the Buttonholes:
For those who cannot crochet:
Fasten off the end of the kniting. Sew on snap fasteners to underside of the end just finished, evenly along the edge. Sew the other part of the fastener along the outer side edge of the end where we started the neck warmer, and the buttons would have been sewn. (See the figure further down under the heading “Attaching Buttons”, that shows where the buttons should be sewn and the button holes at the other end)
Easy crochet flat button loops:

The easiest way to make a fastener for the buttons is to create flat chain button loops beginning on the end where you have finished with a loop on a crochet hook.
Abbreviations and Stitches used:
- Chain
- Single crochet : SC
Using the crochet hook, make a chain in the loop you have kept from the end of the work and continue as follows:
Make 1 SC into second last decreased stitch;
Make 5 ch; miss 2 ribs of the pattern and then make 1 SC into each of the next 6 stitches;
Make 5 chains; miss 2 ribs of the pattern and make 1 SC into each the next 6 stitches; miss 2 ribs of the pattern;
Make 5 chains; make 1 SC into the last stitch then pull the yarn through to secure it.
Attaching Buttons:
Select 3 buttons that will fit the size of the buttonhole you have prepared.
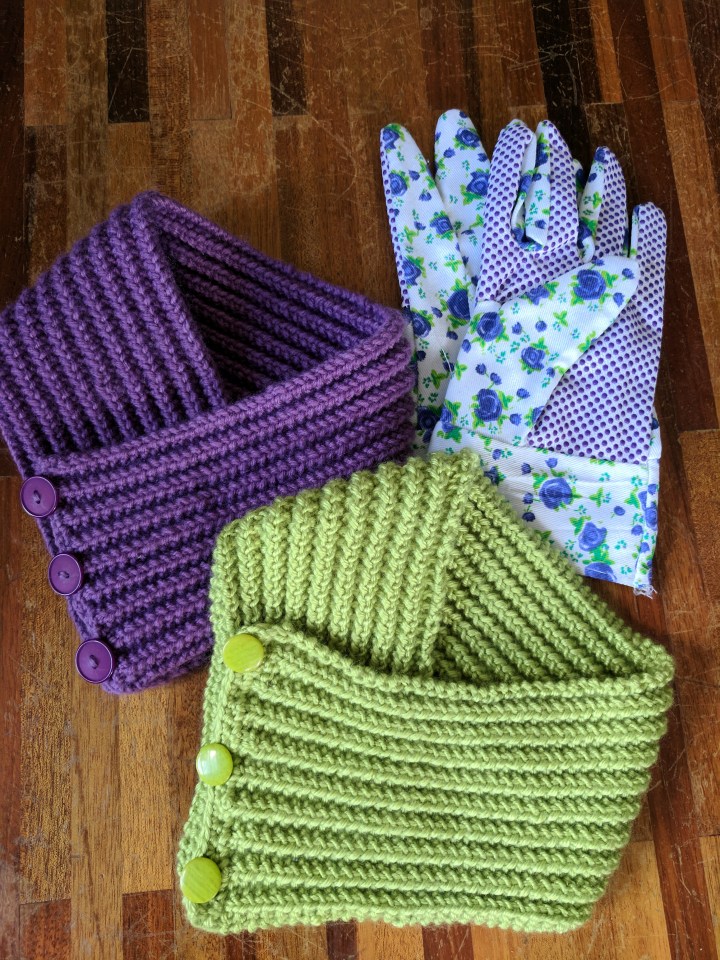
Sew the three buttons evenly spaced and able to be fastened by the loop as shown on the image below:

Using a yarn needle, sew in all the threads.
Using the neck warmer:
Drape the neck warmer around your neck with the buttons over the right shoulder and the buttonhole end over the left shoulder. Fasten as shown in this image:


I love neck warmers. I made a few last year. this is a great and simple pattern. thanks for sharing! 😊
LikeLike